Does anyone still get old fashioned magazines in the mail? It most certainly is a Pinterest world these days, and now you can even save images and links on Facebook to go back and look at later. Magazines all have a digital presence as well, so why even bother with a physical copy that you actually have to wait for it to be delivered to your door? Well, because it makes me happy. I have no better reason than that. On the days that I receive my HGTV Magazine and Better Homes and Gardens, I am one happy camper. I love taking my time and paging through them with a drink in hand, looking for inspiration for a new project or just appreciating other people’s creativity.
I also love to tear out pictures, articles, and sources that I would like to use later, but they were hidden away at the bottom of my inbox where I could easily forget about them. No more. This project feels so old fashioned, but then I saw some really beautiful pin boards on Restoration Hardware’s website. Of course the price tag is out of my range, but it did give me some validation. Yes, these things are still being made and sold. So here is how I made mine.
First, the project shopping list for a DIY Inspiration Board:
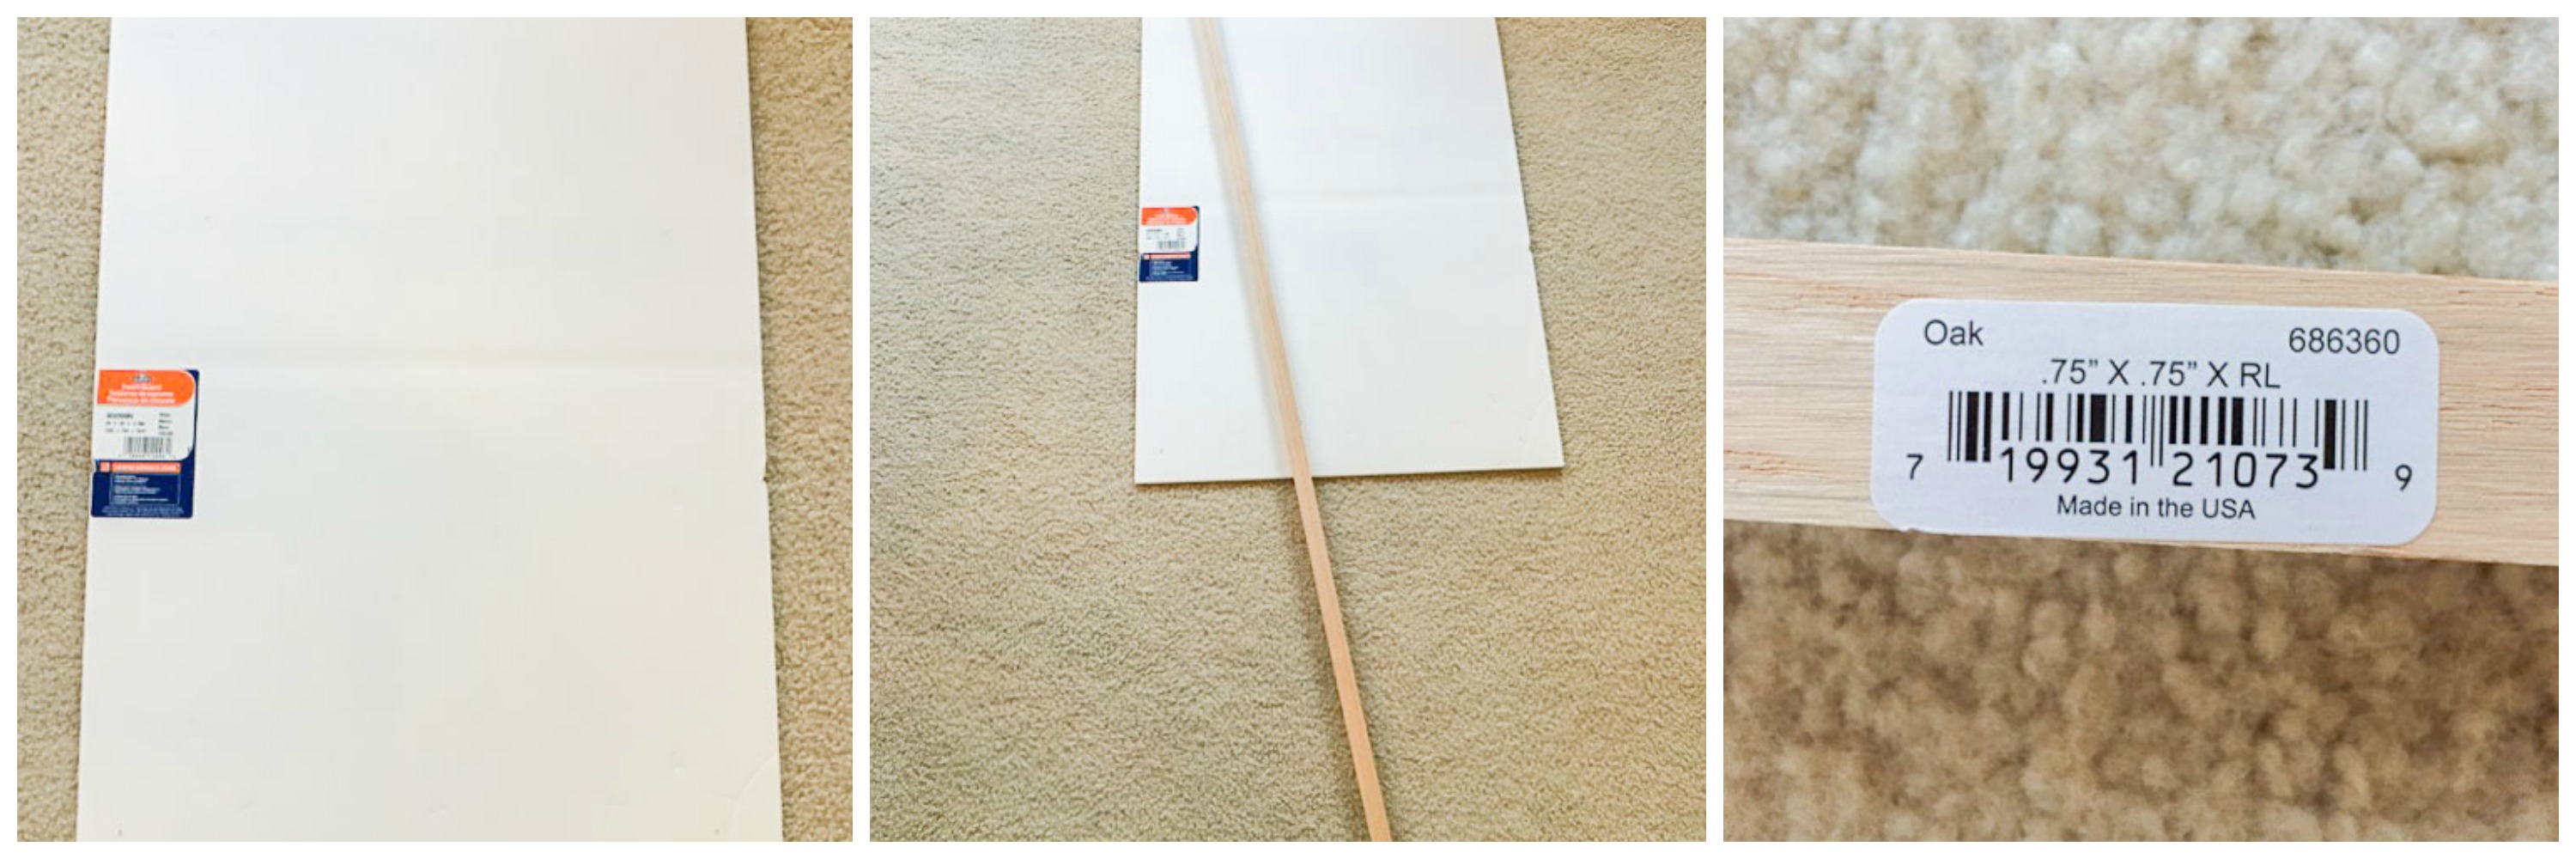
- 1 piece of foam board (mine measured 20″x30″)
- 3/4″x3/4″ wood for the inner frame, long enough for the size of your foam board
- saw
- wood glue
- clamps
- tape measure
- nail gun
- fabric of choice (I used cream linen)
- staple gun
- 3/4″x1.5″ wood for the outer frame
- wood stain (I used Minwax Classic Gray)
- wood sealer (I used Minwax Polycrylic in Satin)
- push pins
- inspiration
Note: This post contains affiliate links. This means that I earn a small commission on items you purchase through my link. This does not affect the price that you pay. All commission goes toward the running of this blog.
Ok, so this project really covered a lot of new territory for me. I’ve done a fair amount of DIY, but this was my first time using the power tools listed above on my own. Yikes. I was actually nervous, especially using the saw, but I now understand, just a little, the thrill guys get out of it.
I already had the foam board from an old art project, so that’s why mine is a little beat up looking and why I chose this material in the first place. I built my whole project around something that I already owned that cost about $2. I have no idea if this is the most effective choice for a pin board or not, but I had it so I used it.
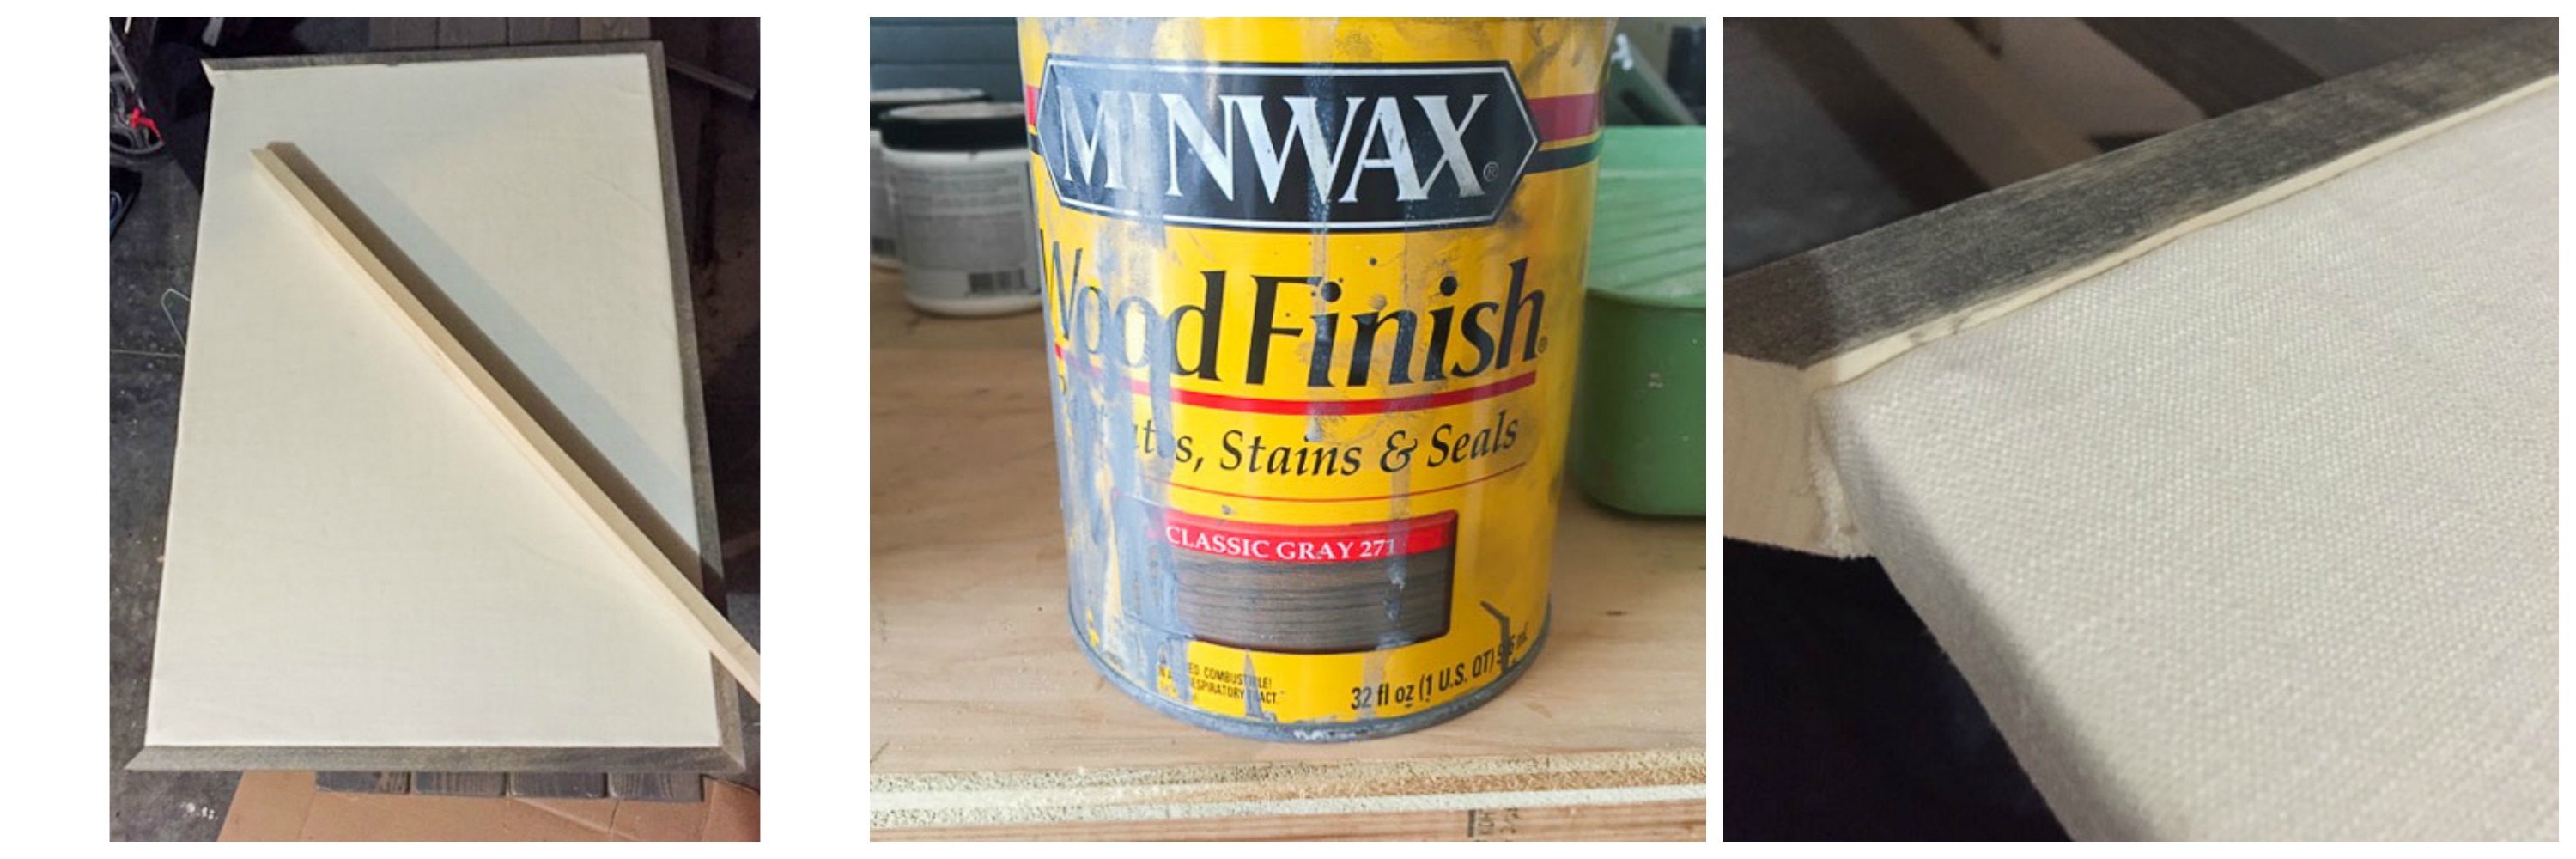
I also had very scientific reasons for my choice of wood. I went to Home Depot and picked the cheapest one I could find in the shape I wanted. Originally I wanted square wood because I had a different design in mind, but that changed. So if you want to use the same wood for the inner frame as the outer frame, that would probably be fine. Note: The picture below with the sticker that says “.75″X.75″X RL? RL stands for “Rough Length”. Home Depot can cut this piece of wood to the length that you need, you don’t have to purchase the whole thing. Also, I’ve heard that they will cut wood for you to your measurements, but I have not done this personally. This could be helpful if you don’t own a saw.
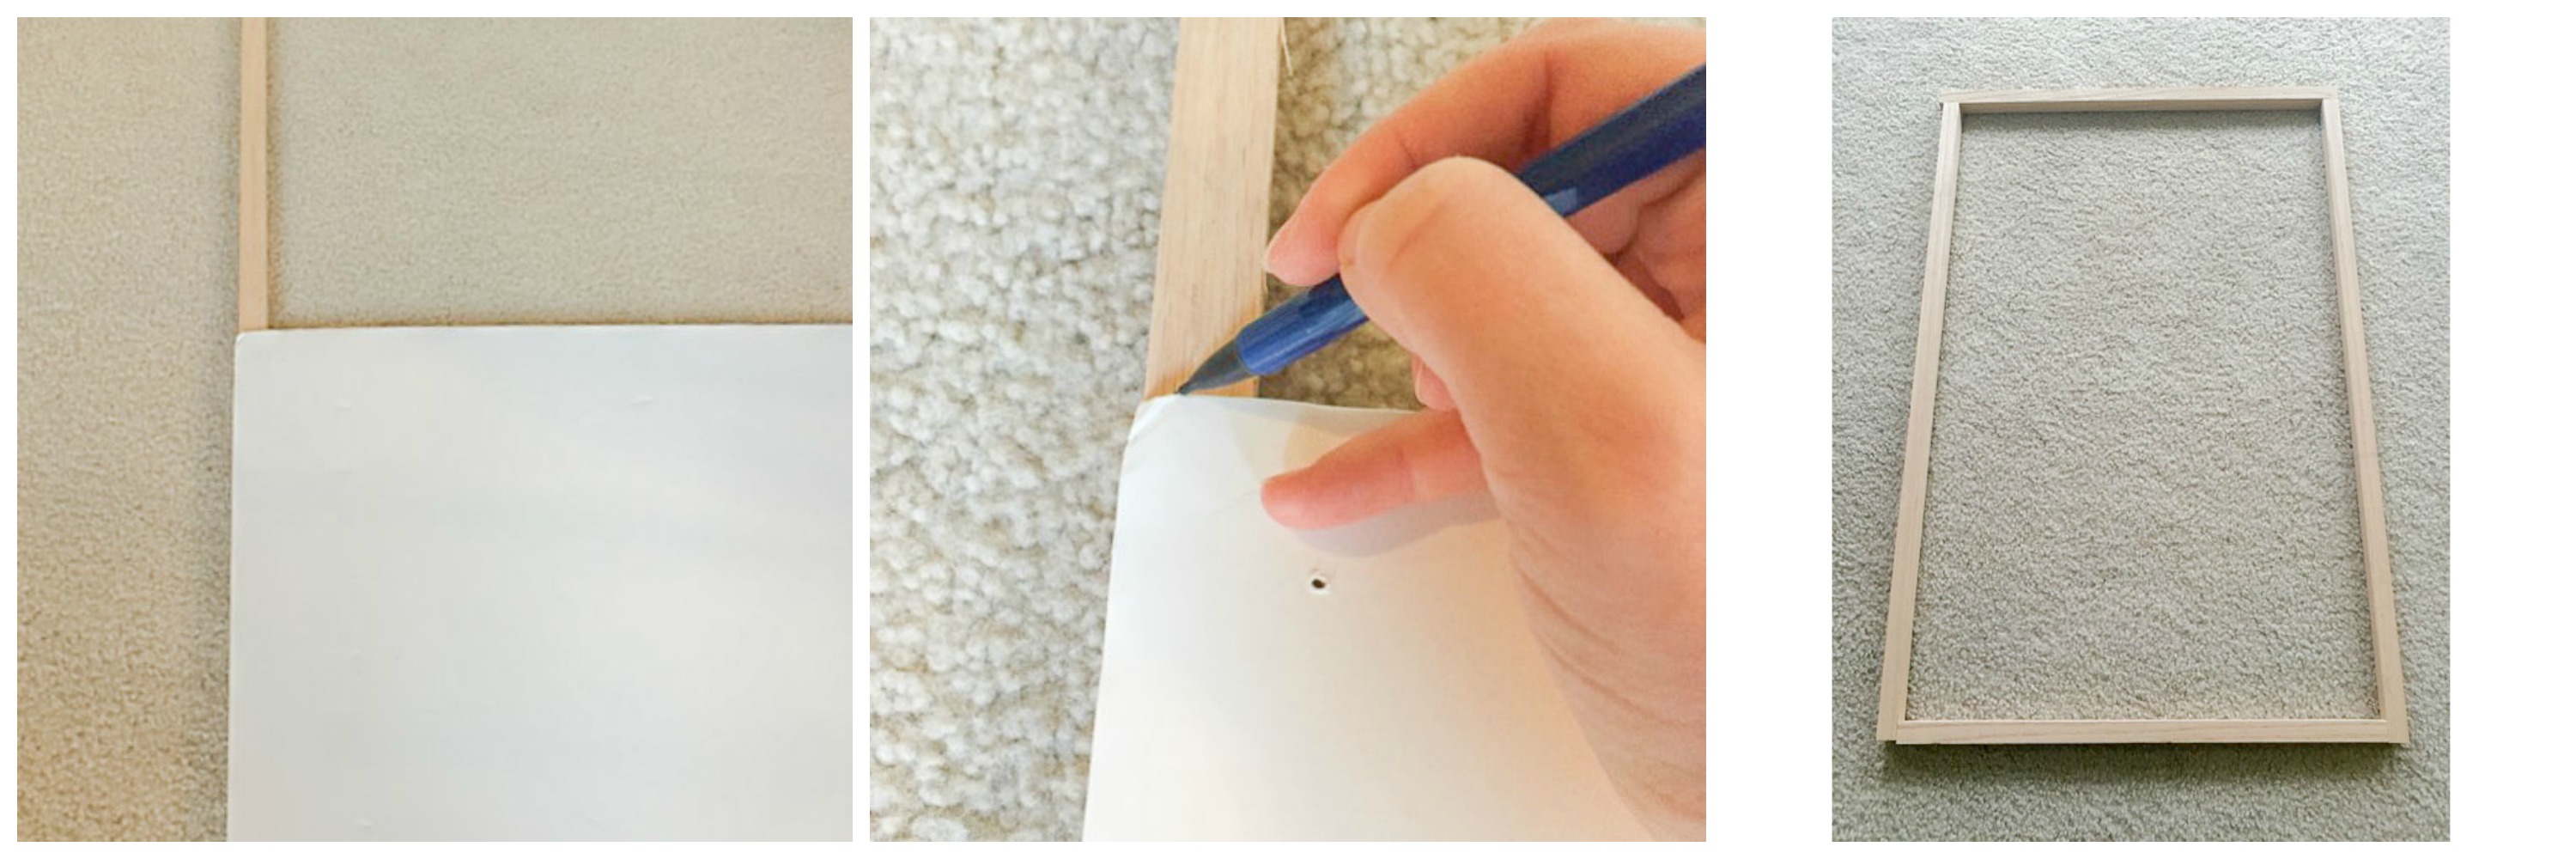
I brought my materials indoors because when I started this project it was freezing in the garage and there was not enough light to photograph what I was doing. I started by using the foam board to mark the length of one of the long sides, then I took it out to the garage and cut it. I repeated that process with the opposite long side and then one of the short sides. Then I cut the last short side to fit inside the long sides. Just think of the frame as a puzzle and make sure that pieces are fitting together correctly.
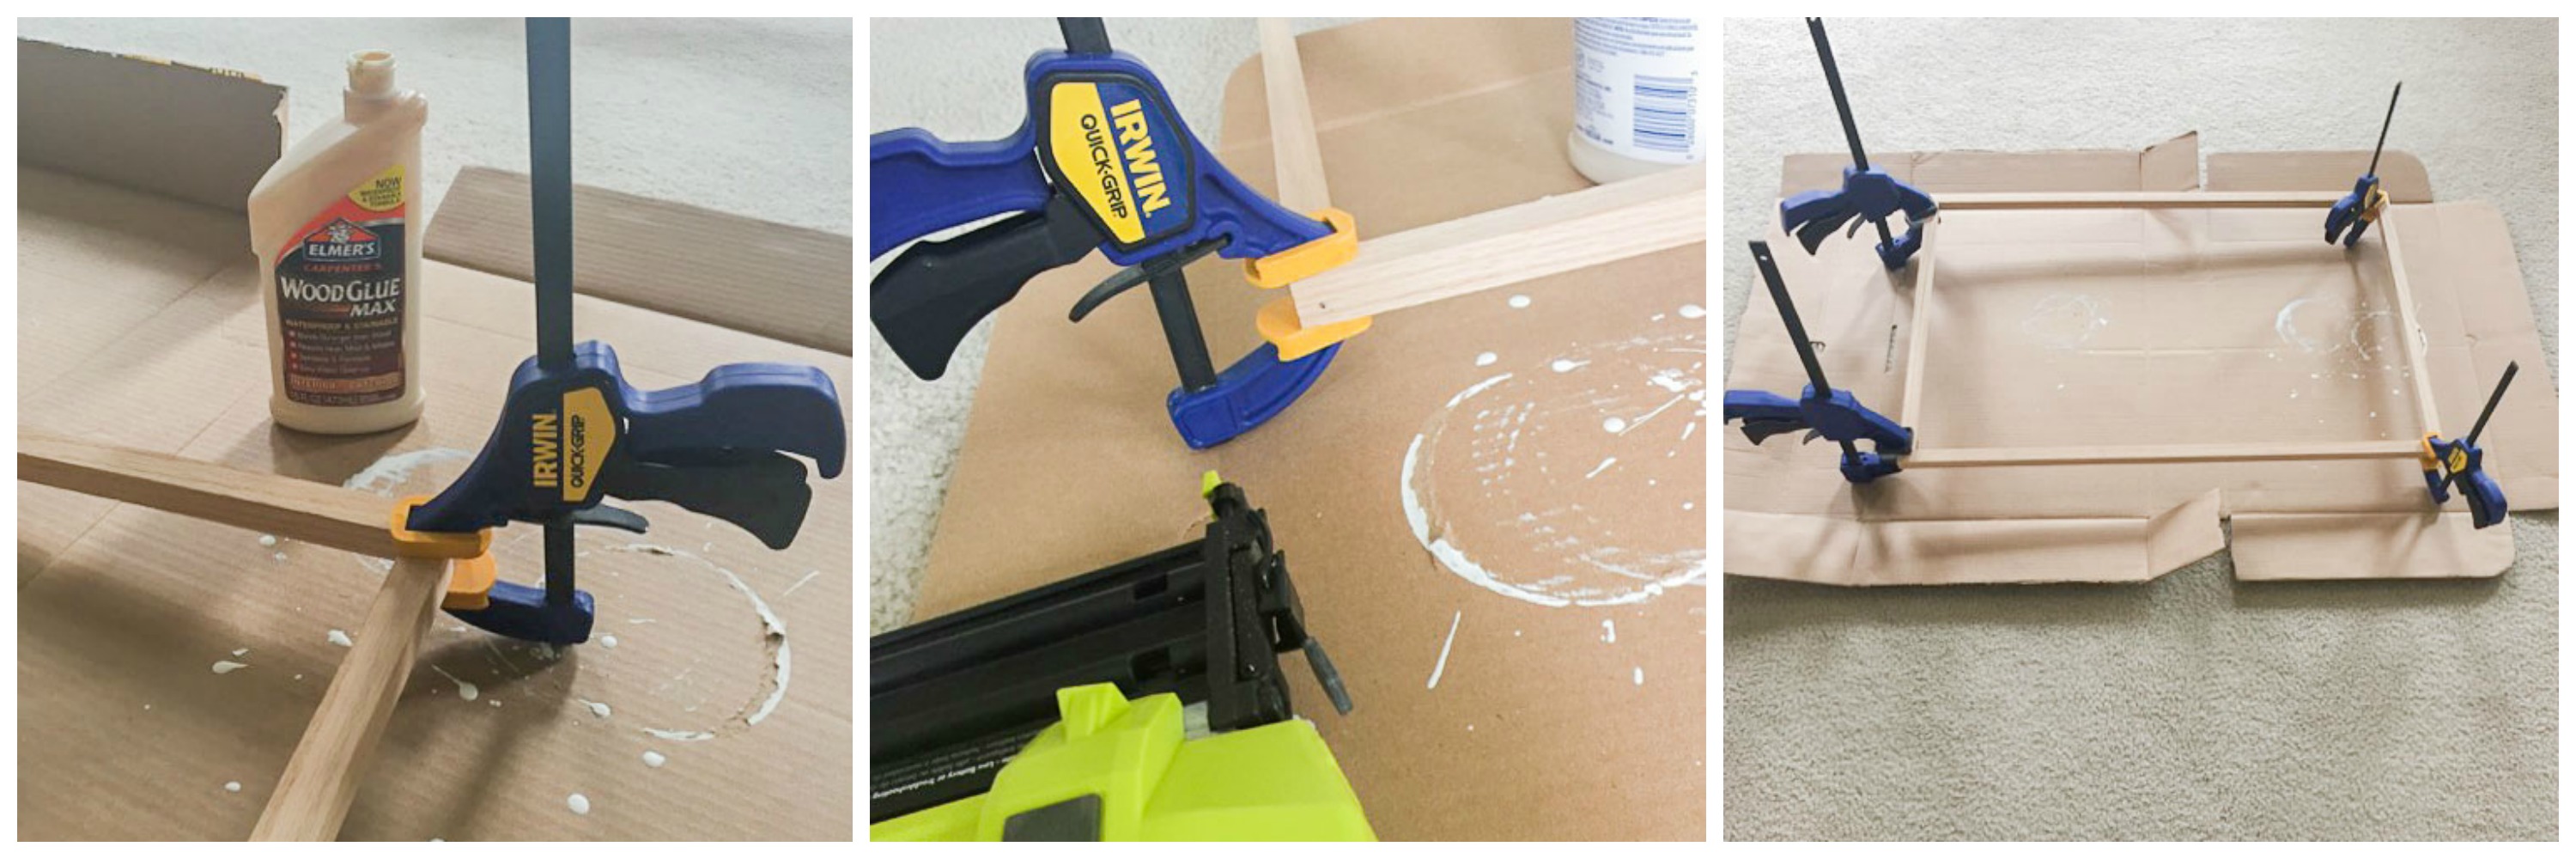
Then I used wood glue and a clamp to attach all 4 corners, and then used to the nail gun at each corner as well. I let this dry for about 10 days. This was not entirely necessary, but it’s what happened.
When I finally came back to this project, I stapled the foam board to the frame and covered the board with fabric. Try to get the fabric tight without it pulling, and trim the corners so that it lays flat. It doesn’t have to be perfect since it will be covered with the outer frame.
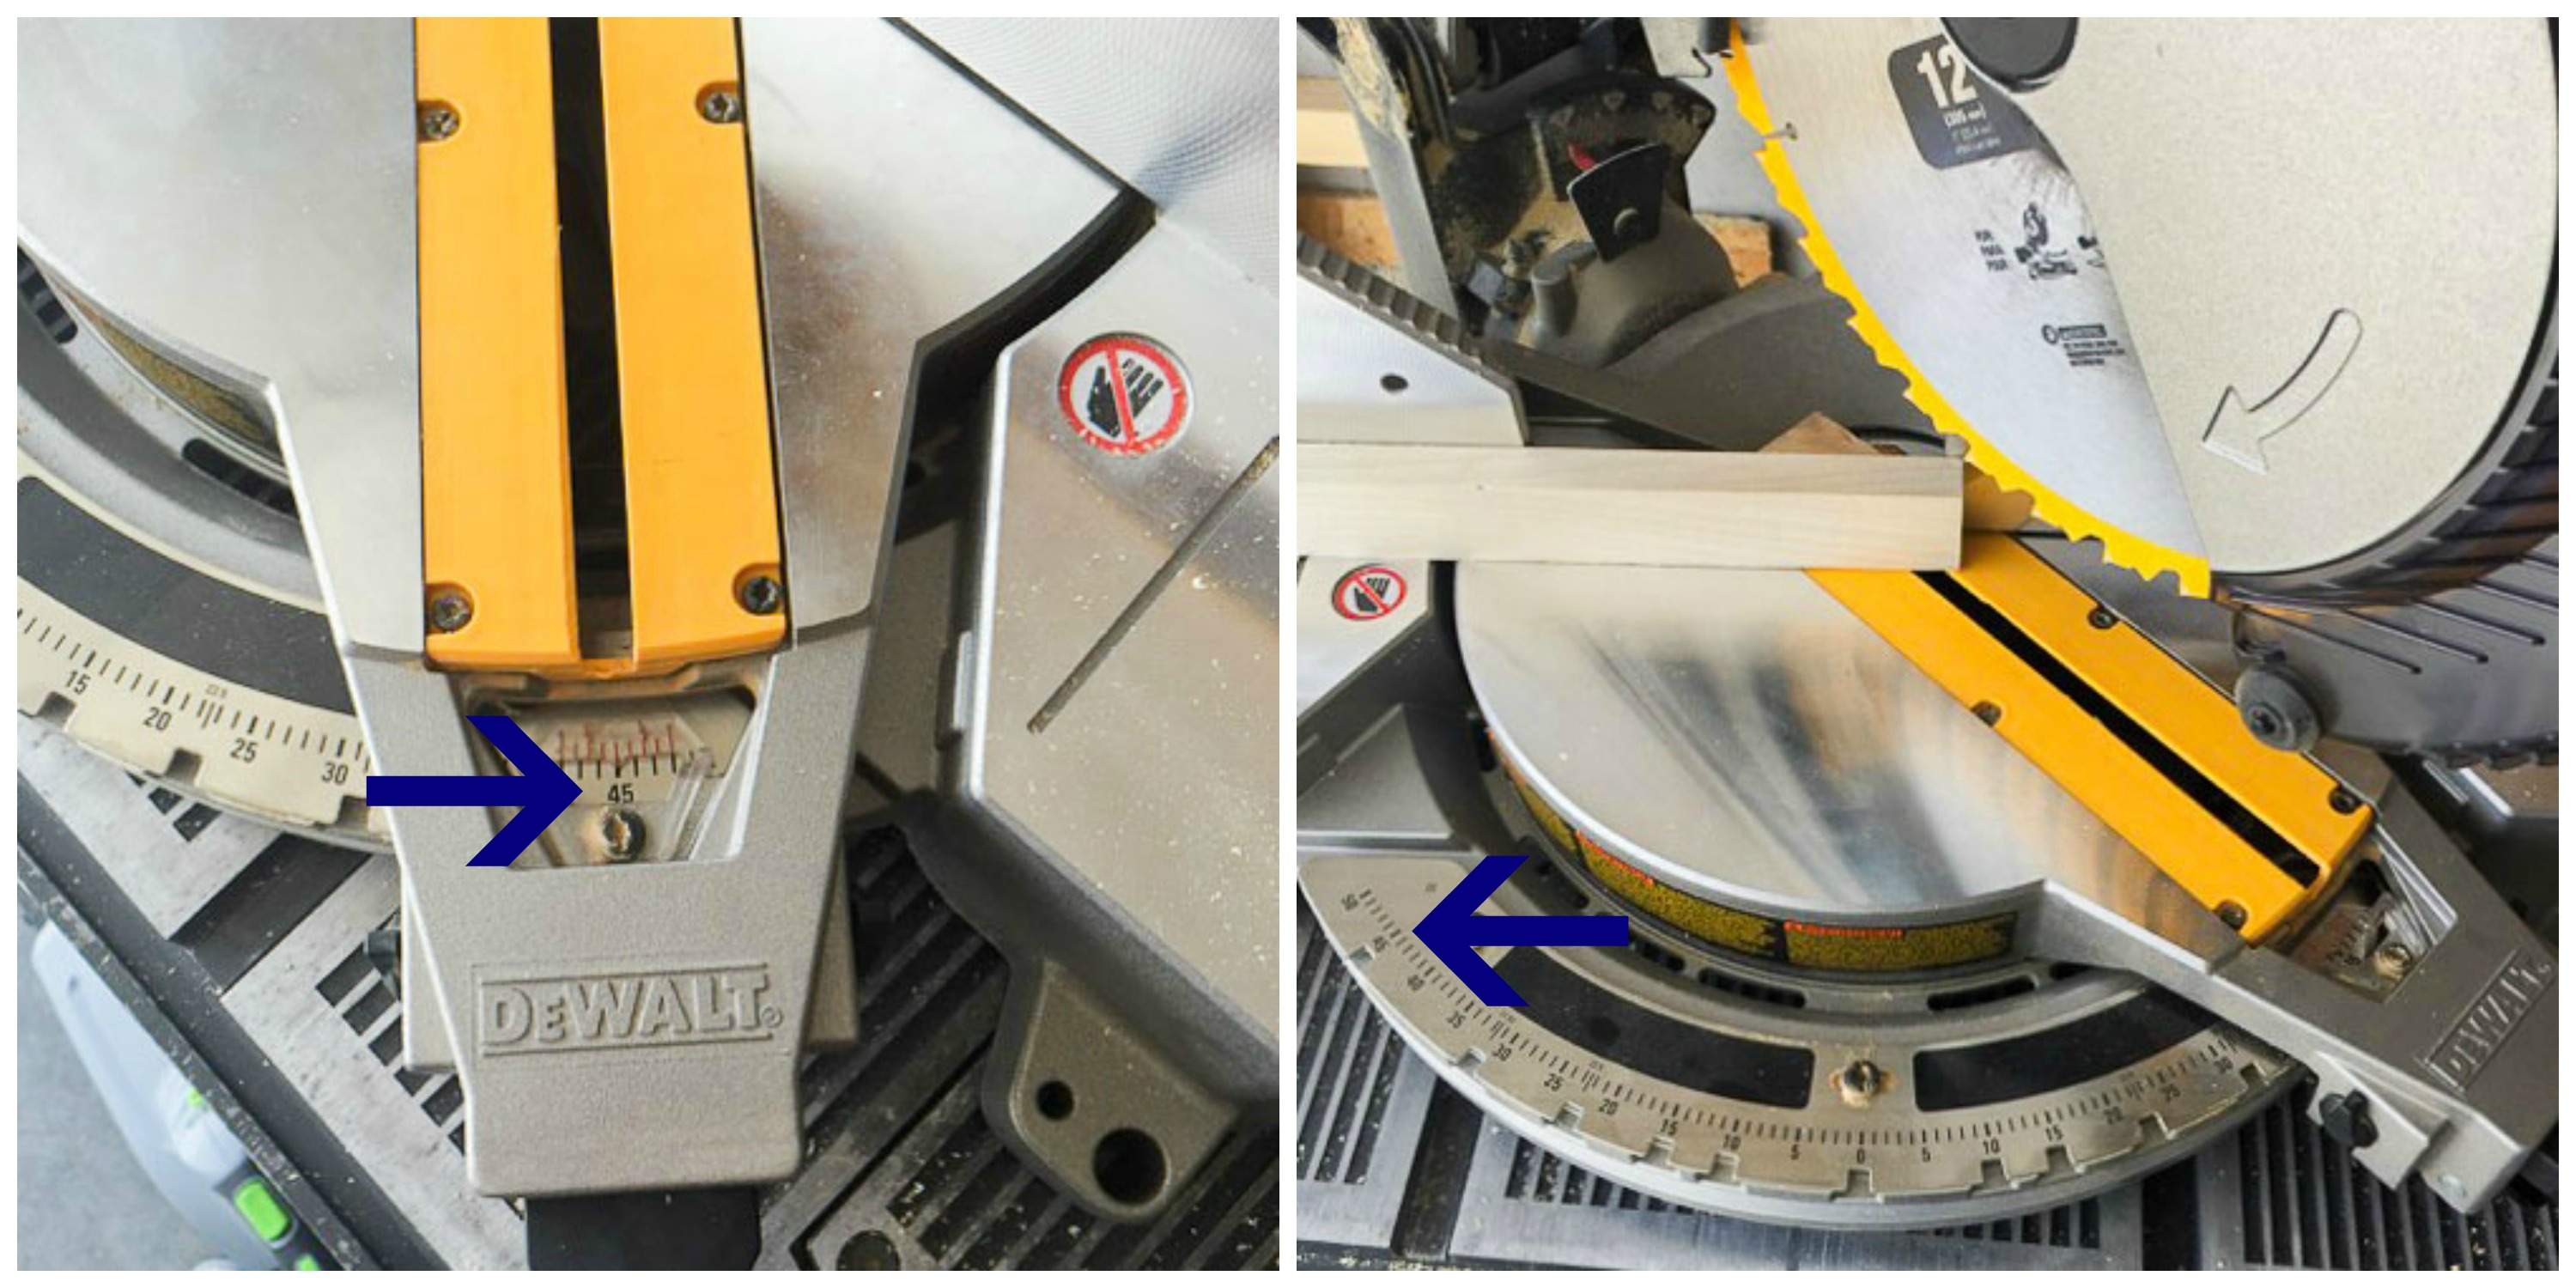
5 days later, I came back to work on the outer frame. Now geometry was never a good subject for me, (so now I build things and draw) but I managed (barely) to pull this off. It helps that the saw has degree settings, so I just moved the blade to the correct angle (45 degrees) and cut. You do have to think about which direction the angle will go (opposite angles at opposite ends). The arrows show the 45 degree angles, so you just move the saw blade to the other side to cut the opposite angle.
I’m feeling pretty confident at this point. Not as hard as I expected it to be!!
I stained each piece and then recruited my husband to help me nail the frame to the board. I thought it would be so much easier with an extra set of hands. Then my husband informed me that I had cut one of the long sides about 1/4 inch too short. I had probably not accounted for allowing extra for the width of the saw blade. This is a little tricky, so if in doubt, cut it a little long and then trim it. This meant yet another delay in this project and yet another trip to Home Depot for more wood. I did not take a picture of my sad face.
Fast forward another I don’t know how many days, and I have a new piece of wood and make another attempt at getting this inspiration board done. This time I went ahead and attached the 3 parts of the frame that are finished to the board. That way I would know exactly how long my board needed to be that I hadn’t cut yet. Once it’s cut, I stain it, let it dry and attach it to the board. I didn’t get my board lined up quite perfectly with the frame, and I didn’t stain all sides of the board, so I had to go back with a very small paint brush and touch up in one spot so that you could not see the raw wood. I also plan on filling in the nail holes and seams where the boards meet, but I can’t find my wood filler. Probably buried in the clutter in the garage that is on my list to clean up. I was not about to make another trip to Home Depot for this thing, so I will finish that up and seal it with polycrylic as soon as I find it. Sometimes done is better than perfect.
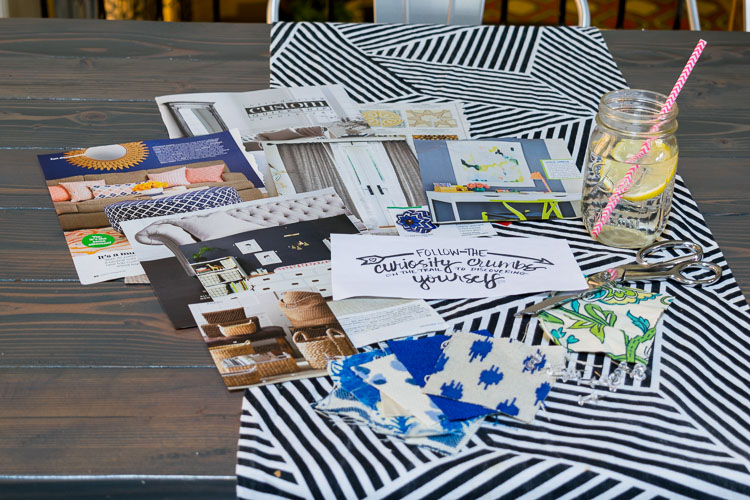
Now here is the fun part: choosing what to put on it!
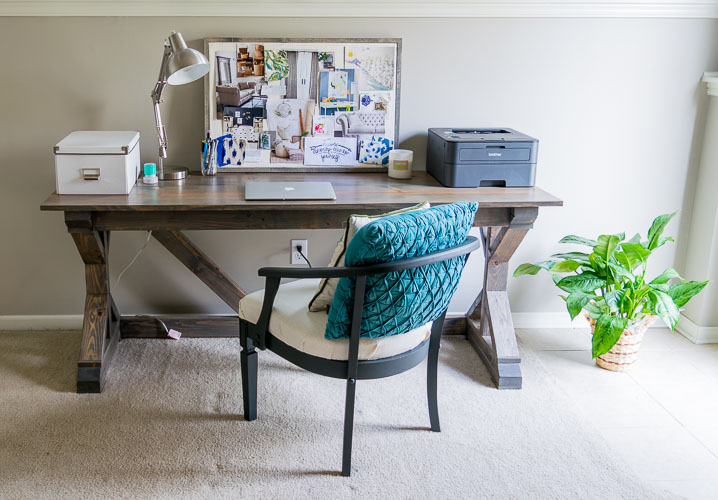
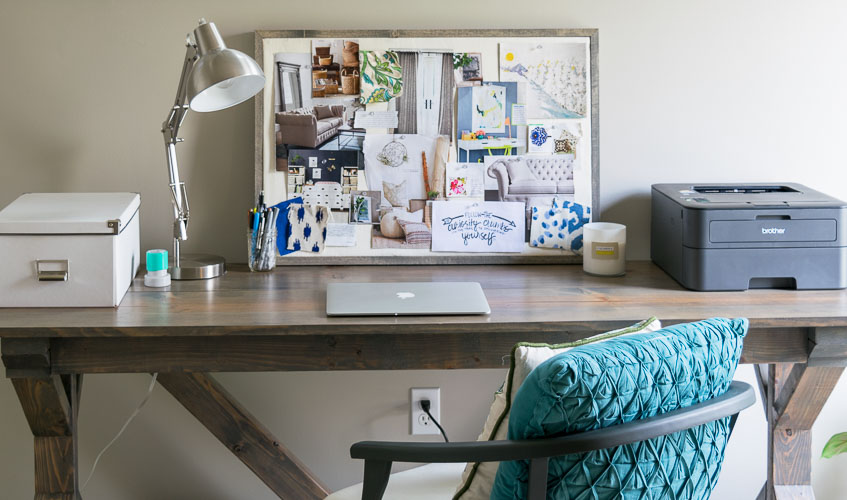
I’m so glad that this DIY Inspiration Board is done and I am so happy with how it turned out! Each of the photos or swatches on the board inspire me in some way and I love that I get to see them every day now. I am really starting to love this little corner of my house. You can also read about My Cane Back Chair Addiction, and see the transformation of my favorite chair!
Do you have something in your home that corrals things that inspire you? Are they photos? Objects? Let me know in the comments!
