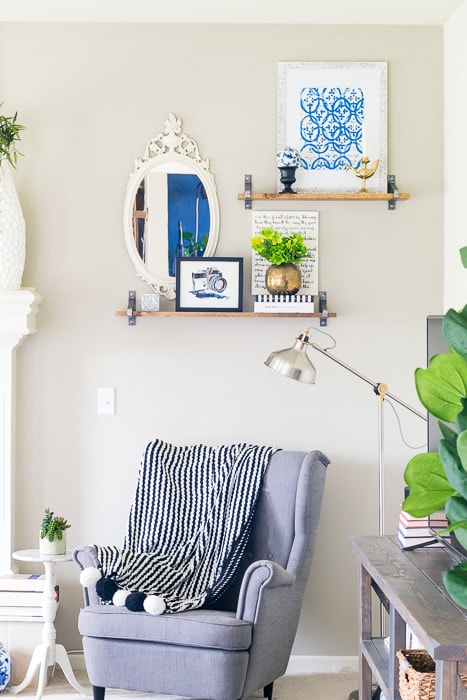
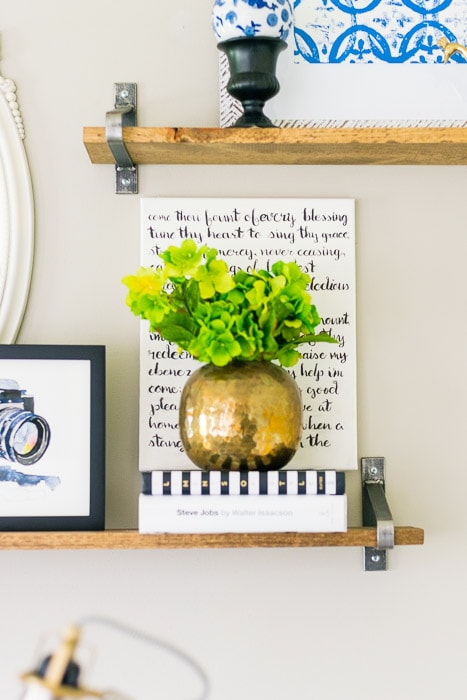
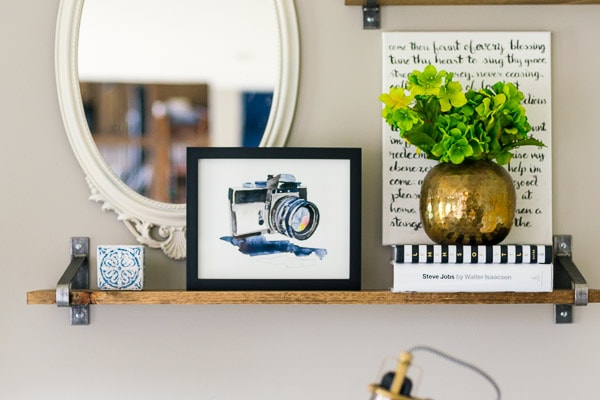
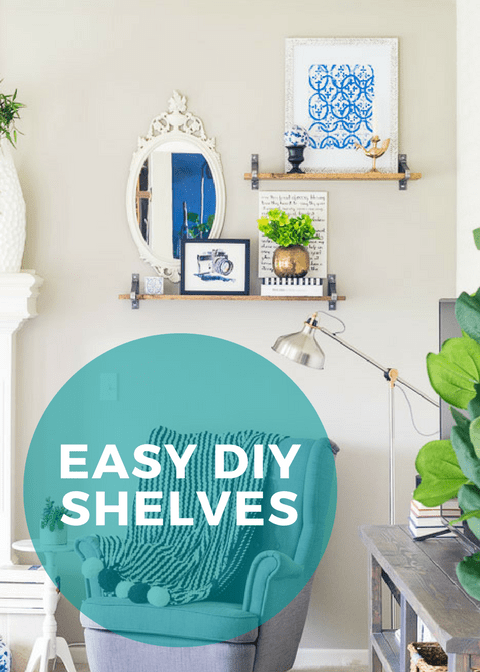
I love it when DIY projects are simple, affordable, and look more expensive than they are. After thinking through different options for my living room wall for months, I finally arrived at shelves for art that could be switched out easily. My fireplace isn’t centered on the wall and it really bothers me. It feels a lot less noticeable now though, and all it took was easy DIY shelves.
Mirror | Watercolor Camera Art | Striped Book
***Note: This post contains affiliate links. To see my full disclosure policy, click here.***
Easy DIY Shelves
You will need:
- wood for the shelf
- wood stain or paint for the shelves (I used Minwax Provincial)
- brackets
- painter’s tape
- screws if the brackets don’t come with them
- anchor’s
- hand drill
- level
- measuring tape
- stud finder
Select Shelves
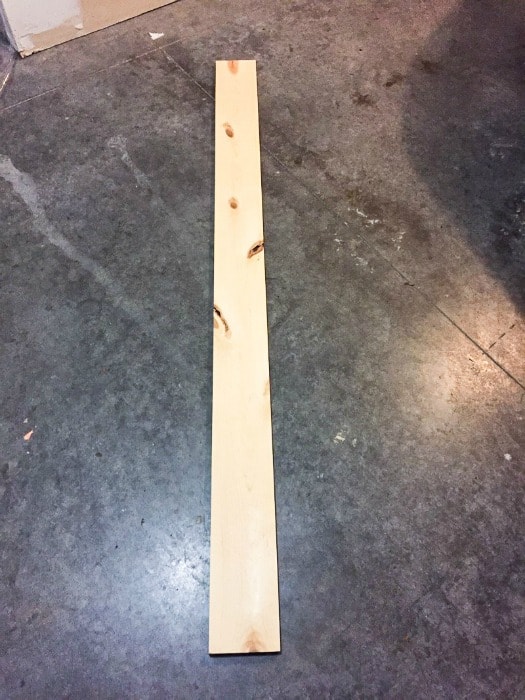
I linked to wood very similar to what I bought, the only difference is mine is poplar and they didn’t have it listed online. The price was about the same though. There are tons of options and a few things to keep in mind when making your selections.
First of all, determine the length of the shelf that works for your space. Roughly 2/3 to 3/4 of the wall or piece of furniture that you are hanging it over is a good rule of thumb. You need to also think about the depth of the shelf. Mine is hung over a chair, so I didn’t want it to be so deep that someone would run the risk of hitting their head when they stood up.
I ended up using two different lengths to get the look I wanted. I purchased what’s called a random length of the cheapest wood at Home Depot. It was long enough for both shelves and then I cut it myself at home. We own a saw so I’ve never done this, but I’ve heard that you can ask someone at Home Depot to cut a piece of wood to the length that you need.
They also have precut pieces of shelving already finished that you can purchase in the shelving aisle at Home Depot. In my honest opinion, they don’t look quite as nice because they are basically particle board covered in something to look like woodgrain. But if that’s the best option you can find and it works with your dimension requirements, go for it. For the most part you can only see a small portion of shelf once it’s hung on the wall anyways.
Select Brackets
There are so many options for brackets in a lot of different sizes. Home Depot has quite a few nice, affordable brackets, but they weren’t the style I was looking for. I love supporting Etsy sellers so I started searching there.
The seller I worked with was great, very communicative and had great customer service. I do need to mention that the seller is located overseas, which was not apparent on the seller profile. So it was a little bit of a surprise to find that I would be waiting 3 weeks to get my order! That being said, I would definitely order from them again, and just plan better for the longer shipping.
I wanted a really rough, industrial look, so I ordered the brackets unfinished. But there are also really beautiful copper and gold ones that I would love to have too!
Once you’ve selected the brackets, determine how many you need per shelf. The brackets should be spaced about every 24″ or so to support the weight of the shelf and whatever you put on it.
Step by Step
Alright, let’s get into the step by step instructions for this project.
1. Cut the shelf to your specifications as needed.
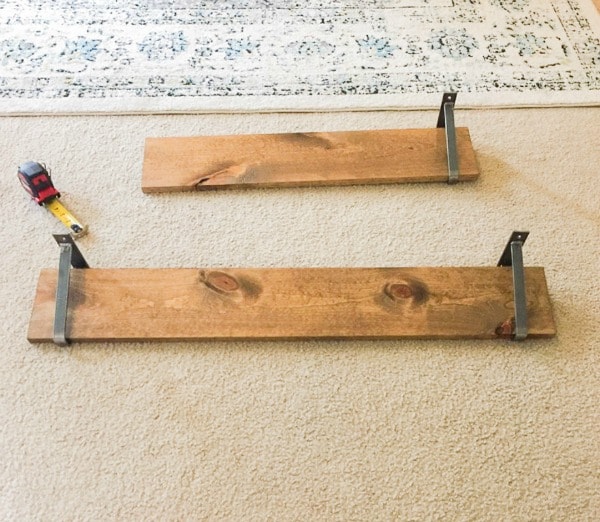
2. If using unfinished wood, stain or paint the wood and let dry.
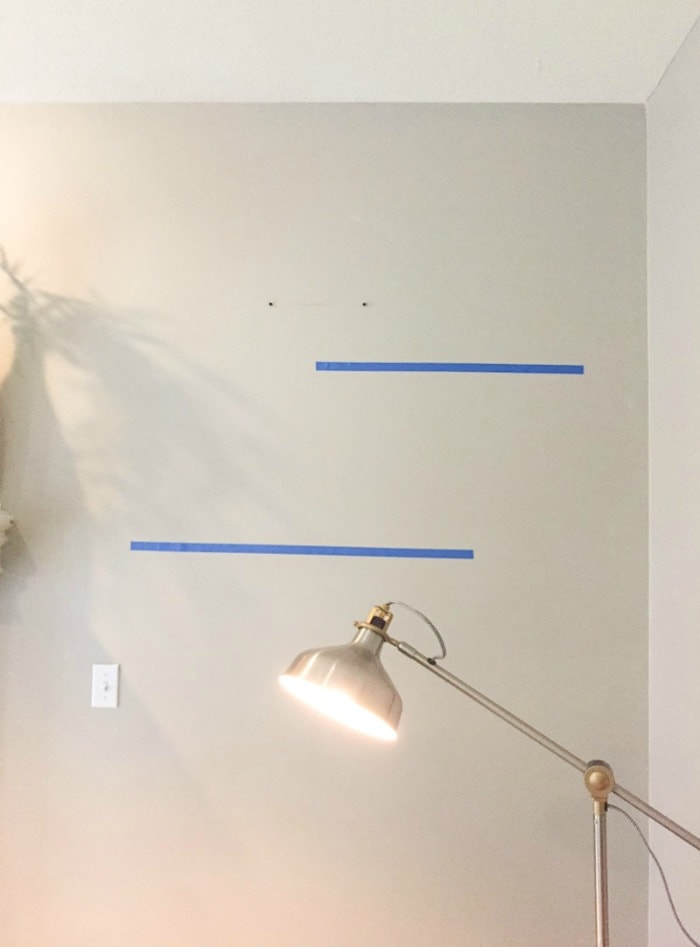
3. Mark where the shelf will go on the wall with painters tape cut the exact length of the shelf.
I don’t know why the tape looks crazy in this photo, I promise it’s level! And ignore the old screws I have yet to remove…
4. Use the level to make sure the tape is level on the wall and is where you want the shelf to be.
5. Measure from the edge of the shelf to where the bracket will sit. I placed mine 2 inches from the edge.
6. Measure 2 inches from the edge of the painters tape and draw a line.
7. Place the outside edge of the bracket on the line you just drew, make sure it is level, and draw dots where the screws go. Repeat for each bracket.
8. Use a stud finder to determine if there are any studs where your screws go. If there are, you don’t need to use anchor’s.
9. I had no studs where my screws needed to be, so my husband used a drill bit to drill holes in the wall where I marked the dots. Then he placed an anchor in the hole. Make sure that the screw you use will fit into the anchor. **bonus: the anchor’s I linked to in the list of supplies don’t require a pre-drilled hole!
10. Screw the brackets to the wall.
11. Place the shelf in the brackets.
I think it took us about 30 minutes to do both shelves, and the most time consuming part was measuring and getting the tape level. Really check your measurements, you do not want to make a mistake if you are using an anchor!
I really love how these shelves turned out, and I’ve already moved some art pieces around several times. It’s so easy when they aren’t nailed to the wall! I hope you will give these easy DIY shelves a try. Let me know if you have any questions!
